
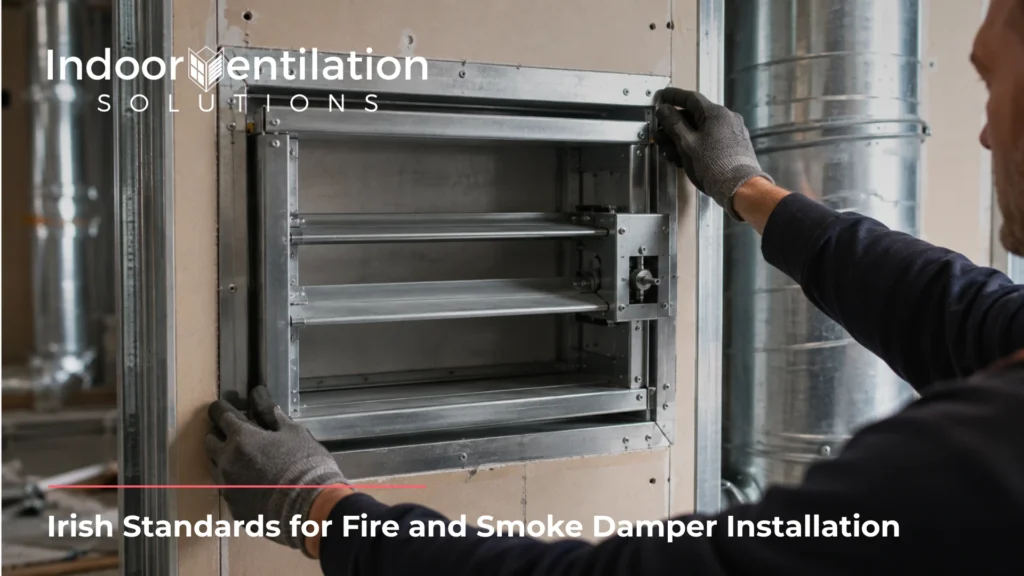
Fire and smoke damper installation in Ireland only holds up if the damper is fitted to match the exact configuration it was tested under, not just fixed in place and signed off. Get that wrong and a certified, correctly rated damper still lets fire or smoke through the exact point it was meant to stop, whatever the paperwork says.
Installation errors account for a significant share of damper failures on Irish sites, the gap nobody checks between a damper being installed and a damper being installed correctly.
This is what closing that gap looks like in practice.
What Does Correct Fire and Smoke Damper Installation Require?
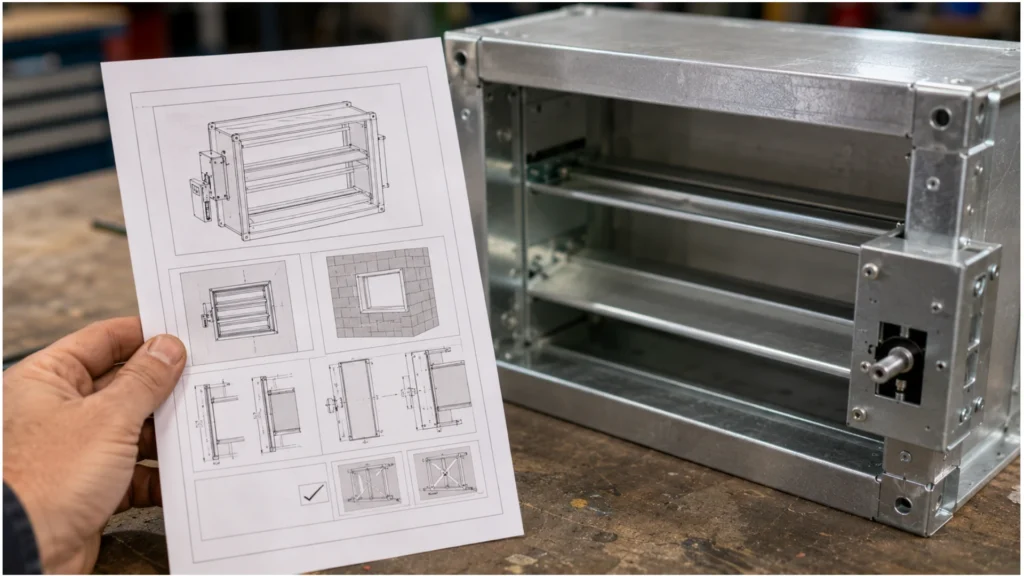
A fire or smoke damper doesn’t inherit its fire rating from the product data sheet. It inherits it from EN 1366-2, the test that assesses the damper against one specific installation configuration, and a 60-minute fire barrier fitted with a correctly rated damper sealed the wrong way is no longer a 60-minute barrier. It’s an unknown, and unknowns don’t hold up well in front of a fire officer.
In Ireland, that testing sits behind IS EN 15650 for fire dampers and EN 12101-8 for smoke control dampers, both of which trace back to the Construction Products Regulation. Every damper installed needs a declaration of performance behind it, and the installation itself has to follow the manufacturer’s installation instructions closely enough that the tested rating still applies once the damper is in the wall.
If you’re specifying or signing off a damper schedule, this is the standard your installer’s work actually gets measured against, not the product spec sheet.
TGD B sets the fire safety objectives for the building. It doesn’t tell an installer how to fit a damper. That detail lives in the product’s own installation instructions and the EN standards they were tested against, which is exactly where most site-level mistakes creep in.
How Should Fire Dampers Be Installed?
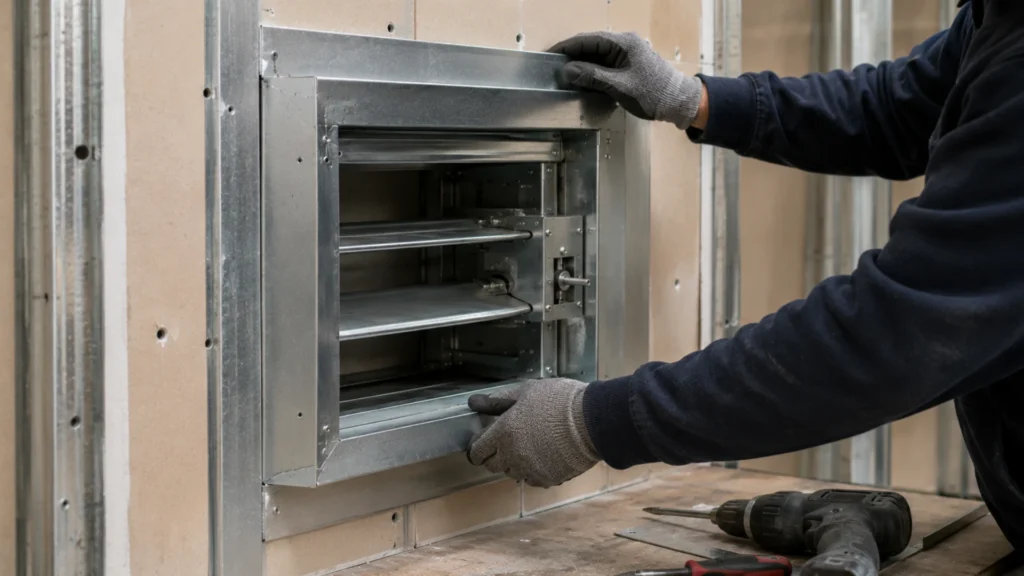
Fire dampers have to be installed to match the exact configuration they were tested under, with nothing adjusted on site to suit the job. Fire dampers close in response to heat, most commonly through a fusible link that melts at a set temperature, though electric and pneumatic actuation tied to a fire alarm system is increasingly standard on commercial jobs.
In practice, that means the sleeve has to be sized and fixed to match the tested configuration, not adjusted on site to fit an awkward duct run. Retaining angles need to sit where the instructions specify, not wherever the steelwork happens to allow.
Expansion clearance around the damper matters more than it looks, because too tight a gap and the blade binds under heat before it fully closes, leaving exactly the opening a fire officer finds during the one inspection that matters. If you’re checking a fire damper installation on site rather than taking the certificate on trust, these three details are the ones worth checking yourself.
Access for the fusible link and any test point has to survive the finished ceiling. Fire dampers routinely fail inspection years later for exactly this reason. The unit was fitted correctly on day one, then a suspended ceiling went in over it with no access panel, and now nobody can test it without demolition.
That access has to be planned in during first fix, not treated as an afterthought once the damper itself is in the wall.
Permanent identification indicating the type of damper and its rating has to be visible at the access point too, not buried in a handover folder that gets lost within a year of the building opening.
How Should Smoke Control Dampers Be Installed?
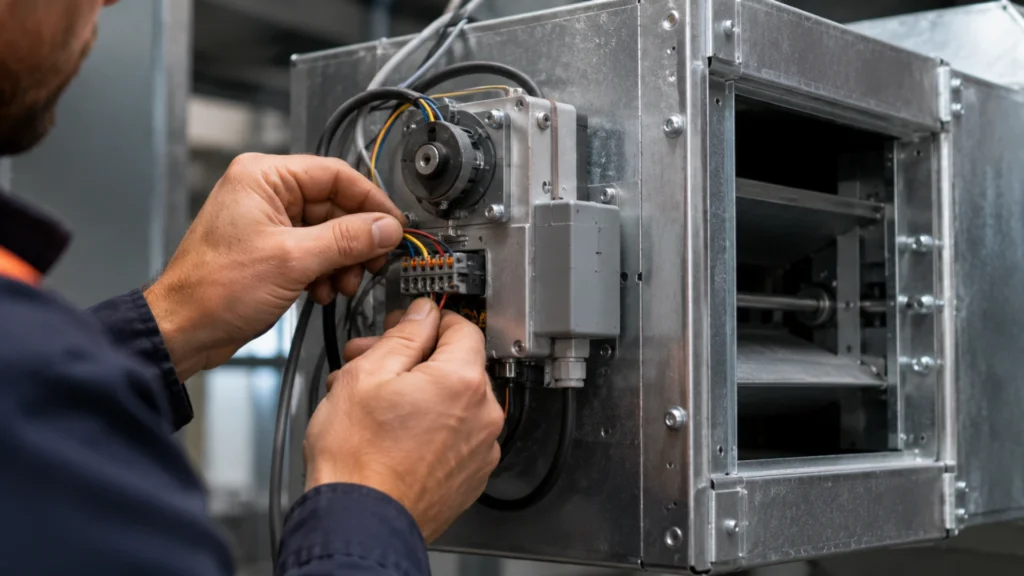
Smoke moves faster than heat and does more damage to people before flames arrive, which is why installation for this type of damper runs on a different trigger. Detection of smoke, either from a local detector or a signal from the fire alarm system, closes the damper before heat becomes the problem at all.
That earlier trigger changes what the installation actually needs to get right. Actuator wiring and the control signal connection are just as critical here as the mechanical fit, because a unit that’s mechanically perfect but wired to the wrong zone, or wired with no clear fail-safe state, won’t close when smoke is detected in the area it’s meant to protect.
These dampers rarely work in isolation either. On stairwell and shaft-based buildings they’re usually coordinated with AOVs and smoke shaft vents as one system, and the installation has to reflect that coordination within the wider HVAC layout, not treat each unit as a standalone product bolted into a duct.
If you’re specifying smoke control dampers alongside AOVs, that coordination needs to show up on the installation drawings, not just the product schedule.
Access panels matter here too, for the same reason covered above.
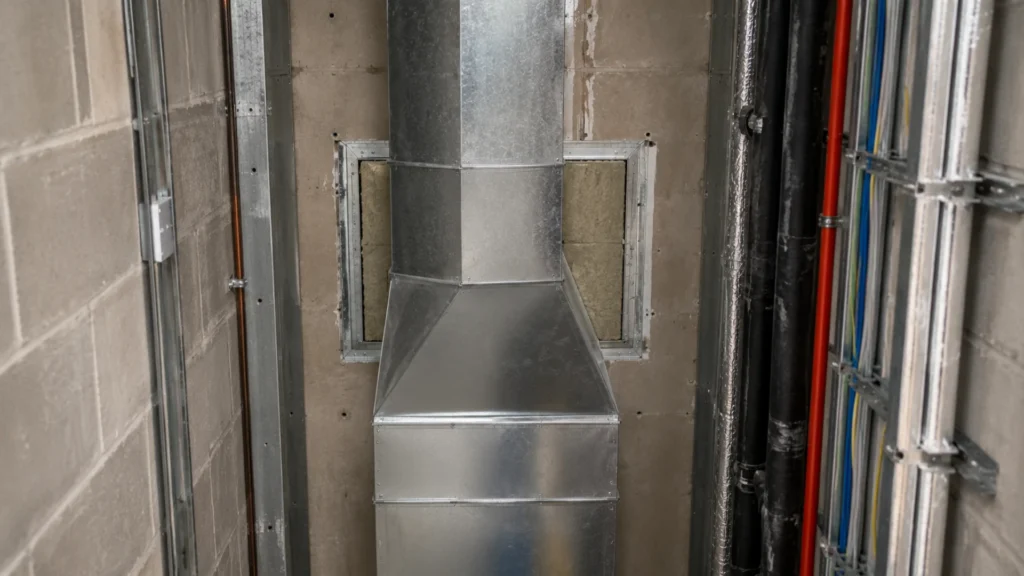
Where Fire and Smoke Dampers Must Be Installed
The short version is that fire and smoke dampers are required wherever ductwork crosses a fire-resisting wall, floor or shaft designed to contain the effects of fire or restrict the movement of smoke, whether that’s a compartment wall, a protected escape route, or a service riser.
We’ve covered the full detail of exactly which locations trigger that requirement, and why the two often need to go in different places for different reasons, in Where Are Fire and Smoke Dampers Required. It’s worth reading alongside this piece if the location question is still open.
Why Do Correctly Specified Dampers Still Fail Commissioning?
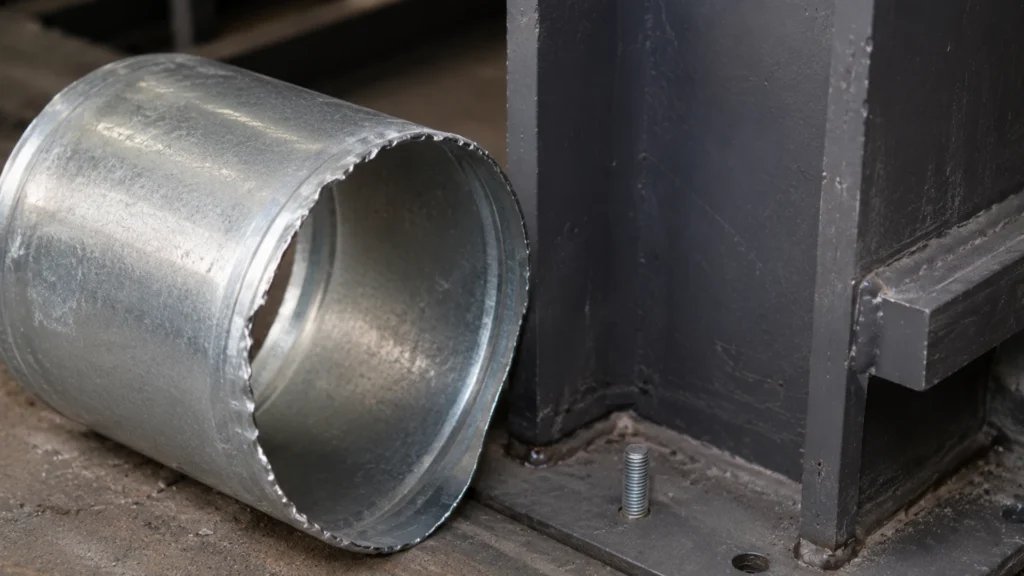
A sleeve gets shortened by twenty millimetres on site to clear a clash with structural steel, and nobody flags it, because the damper still fits, still looks correct, and still comes with its certificate. That’s how most fire and smoke damper installation failures actually happen in Ireland: not the wrong product turning up, but the right one installed under site pressure, with the manufacturer’s installation instructions treated as a rough guide rather than the standard the fire rating depends on.
Elsewhere on the same job, a late design change strips out an access panel nobody thought to protect, or two rounds of drawing revisions after first fix leave a damper wired into the wrong control zone. Neither shows up on a visual inspection.
Both only surface when someone tries to close the damper under test conditions and it doesn’t behave the way the certificate says it should.
The honest reason this keeps happening isn’t negligence. It’s volume. A single air handling unit on a university campus or hospital block, the kind of scale we deal with regularly on education and public sector projects, can serve an HVAC system crossing twenty or more compartment lines, each one needing the right damper and the right fire rating.
Miss the detail on one of those crossings and it doesn’t announce itself. It sits there until a compartmentation survey, an insurance inspection, or an actual fire finds it.
What Happens If a Damper Has No Installation Record?
A damper that’s correctly installed but poorly documented sits in exactly the same position as one that’s badly installed: nobody can prove it still meets the rating it was sold on.
If you can’t produce the declaration of performance, the installation record, and evidence the fixing matched the tested configuration, the fire officer has no way to confirm the rating still applies, and that’s the point where a fire safety certificate can be delayed or challenged on a building that’s otherwise ready to open.
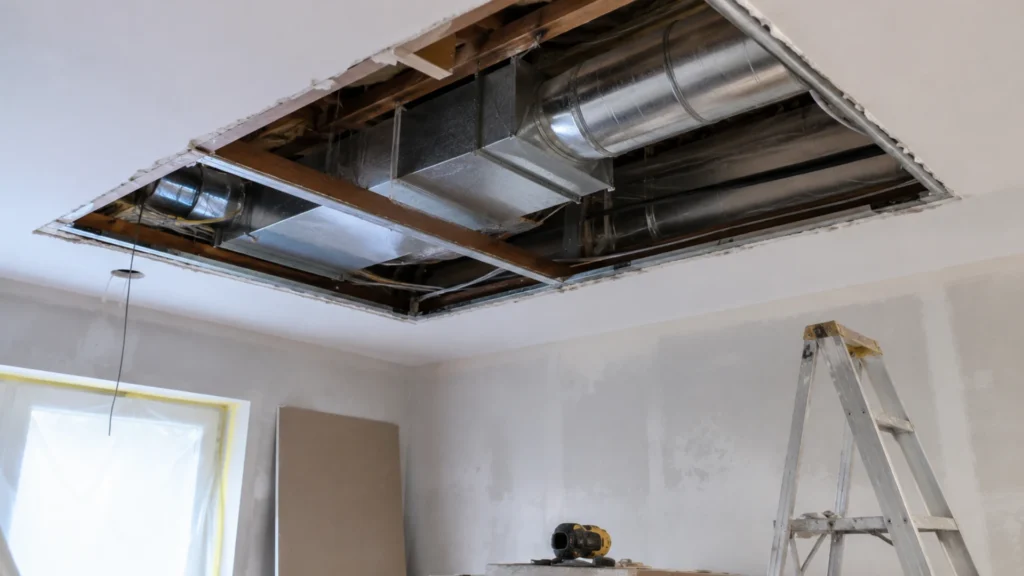
The documentation gap also turns into a cost problem. Opening a finished ceiling to fit an access panel that should have gone in during first fix costs several times what it would have cost the first time round, and if you’re the one who owns the building now, that invoice is yours, not the installer’s who signed it off years earlier.
Safe and successful damper installation is a fixing exercise, a paper trail, and a maintenance path together, and missing any one of the three turns a compliant damper into a liability that surfaces on someone else’s watch.
Fire and Smoke Damper Installation Checklist
| Checkpoint | What to confirm |
| Tested configuration | Sleeve, retaining angles and fixing match the exact assembly the damper was tested under |
| Penetration | Opening sized correctly, no oversized gaps left unsealed |
| Fixing | Retaining angles and brackets positioned exactly as the installation instructions specify |
| Sealing | Fire-stopping around the damper matches the rated wall or floor it sits in |
| Access | A usable access panel is planned in before the ceiling or wall finish goes on, not after |
| Identification | Damper type and rating clearly labelled at the access point |
| Actuator/control | Wiring runs to the correct zone with a defined fail-safe state |
| Documentation | Declaration of performance and installation record kept on file, not just the product certificate |

Need Your Damper Installation Checked Before Handover?
None of it is complicated in isolation. What’s difficult is holding that standard on every crossing, across a building that might have dozens, under a programme built for speed rather than verification. That’s the part worth having checked before sign-off.
If you’re working through a fire and smoke damper installation on a new build, a fit-out, or a fire strategy review, our smoke ventilation services page covers how we handle supply, installation and sign-off across projects like this in Ireland. Getting it checked before the ceiling goes back up costs a phone call. Getting it checked after usually costs a lot more.
Frequently Asked Questions
Fire dampers have to be fitted to match the exact sleeve size, retaining angle position and expansion clearance they were tested under, with a usable access panel planned in from the start.
Fire dampers are certified to IS EN 15650 and tested under EN 1366-2, with TGD B setting the wider fire safety objectives the installation has to support.
Yes. Without a usable access panel, a fire damper can’t be tested or maintained once the ceiling or wall finish is in place.